|
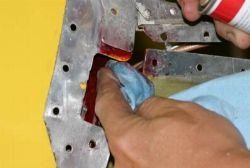
First, the suspected area is cleaned with a solvent to remove grease and dirt.
|
|

|
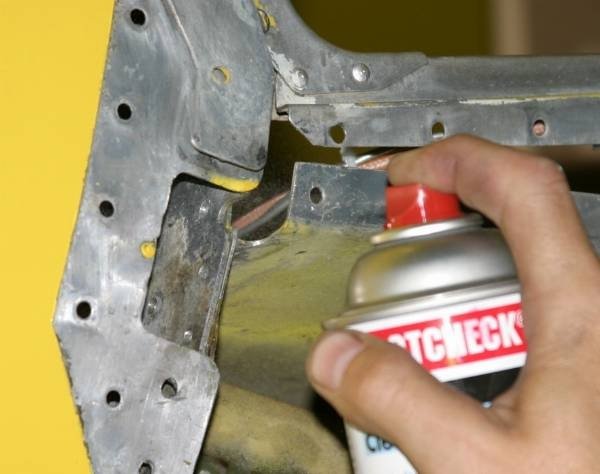
After the solvent dries, a dye is sprayed
on the surface and allowed to soak for a few minutes. The dye
penetrates cracks, and stays wet (doesn't dry like paint).
|
|
|
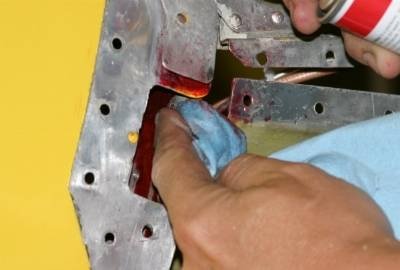
After the dye has soaked in for a few minutes, all visible dye is wiped
off with a clean cloth, slightly moistened with the same solvent used
for the initial cleaning. Not soaked; you don't want the solvent to
penetrate the cracks where the dye is.
|
|
|
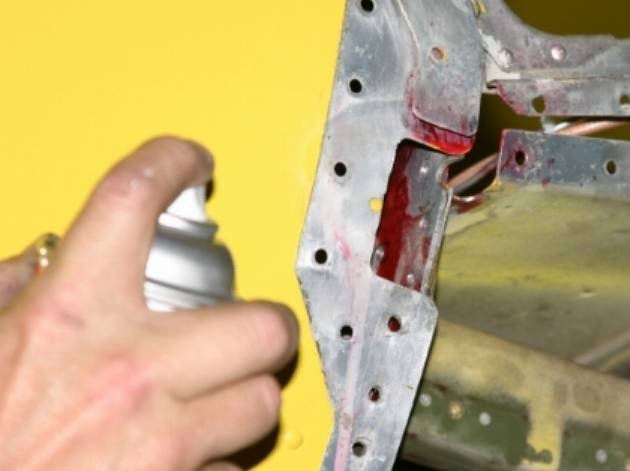
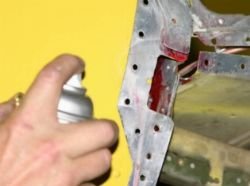
Finally, a light coating of developer is sprayed on. It reminds
me of spray-on foot powder; it goes on as a liquid, but dries in a
minute or so to a light powder coating, which absorbs the red dye,
drawing it from the cracks so you can see it.
|
|

|
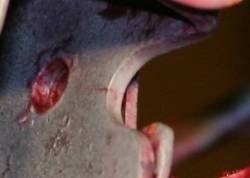
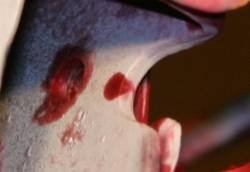
Here the developer is just starting to dry, and the crack is barely visible.
|
|

|
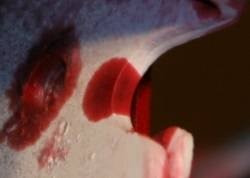
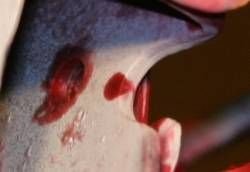
Here you can see the red dye coming out of the crack and spreading over the surface.
|
|
|
If the crack's location wasn't obvious before, it sure is now.
|
|

|
It's hard to believe all that dye came from that small, almost invisible crack.
|
|